Your 7-Day Chilliwack Itinerary: Explore the Best Spots
Disclaimer: This post may contain affiliate links. Please see our Disclosure Policy for details.

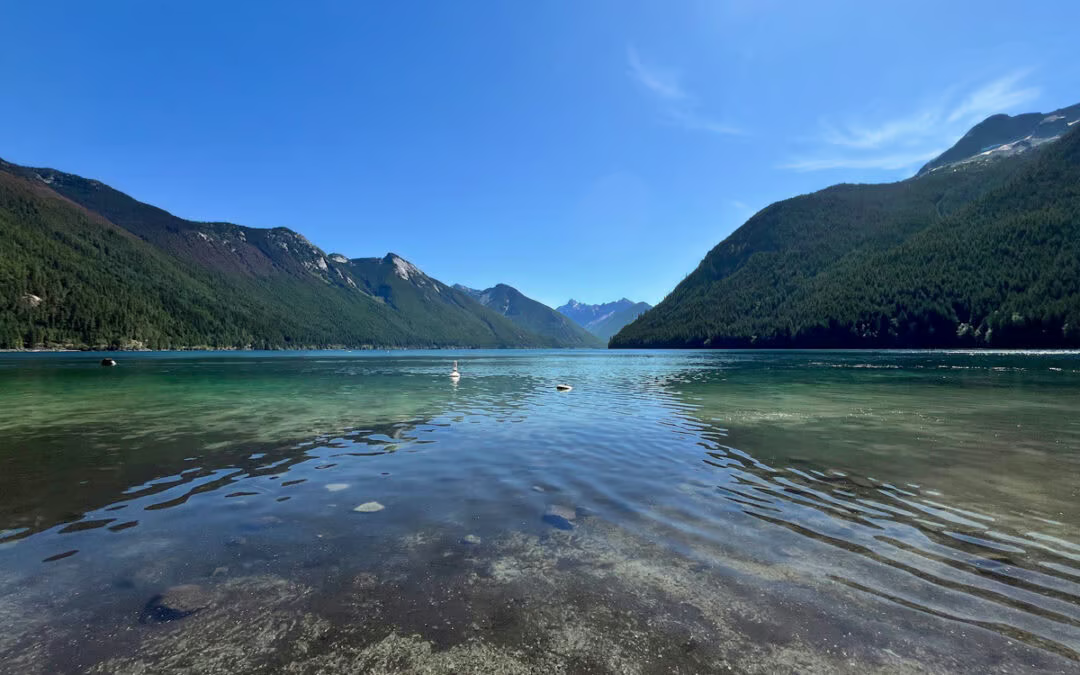
Looking for a travel destination that’s easy to access and packed with outdoor activities? This 7-day itinerary at Chilliwack Lake Provincial Park is perfect for you! Located about 2 hours from Vancouver, this park is surrounded by breathtaking mountains, making it an ideal playground for outdoor lovers. From hiking and camping to fishing and paddleboarding, there’s something for everyone.
Some of the most popular hiking trails in the park include Flora Peak, Lindeman Lake, and Mount Lindeman. Each offers stunning views of the park and its surroundings. On clear days, you can even catch a glimpse of the Washington State mountains, including Mount Baker.
Simply put, Chilliwack Lake Provincial Park is a hidden gem in British Columbia that you absolutely need to visit. Here’s a complete 7-day itinerary to help you explore this stunning region!
How to get to Chilliwack Lake Provincial Park?
Getting to Chilliwack Lake Provincial Park from Vancouver Airport is quite easy and accessible. With a drive of just about 2 hours, it’s the perfect opportunity to grab any last-minute essentials on the way.
Follow the highways until you reach Vedder Road, which eventually turns into Chilliwack Lake Road. From there, it’s a 40 km scenic drive surrounded by stunning mountains before you finally arrive at Chilliwack Lake Provincial Park.
Pro tip: Make sure to fill up on gas in towns along the way, like Chilliwack, since there are no gas stations near the park. In fact, there aren’t many services in the area, so be sure to stock up before arriving!
Chilliwack Itinerary on the map
7- Day Itinerary from Vancouver to Chilliwack
-
- Day 1 – Drive from Vancouver to Chilliwack Lake Provincial Park
- Day 2 – Hike to Flora Peak
- Day 3 – Hike to Mount Lindeman
- Day 4 – Explore Chilliwack Lake or Lindeman Lake/Drive to Golden Ears /Overnight at Golden Ears Glamping
- Day 5 – Backcountry camping at Panorama Ridge Campground, Golden Ears Provincial Park
- Day 6 – Hike back from Golden Ears / Return to Vancouver
- Day 7 – Flight home / End of trip
Day 1 – Drive from Vancouver to Chilliwack Lake Provincial Park
-
- Drive time: 2 hours
- Stay: Camping at Chilliwack Lake Provincial Park
- Activities: Drive, shop for essentials, set up camp
The first day is all about getting to the park, picking up essentials, and setting up your campsite. As mentioned earlier, the drive from Vancouver Airport to Chilliwack Lake Provincial Park takes about 2 hours, giving you plenty of time to stop for supplies along the way.
If you’re arriving by plane, you’ll likely need to pick up a few key items, such as propane canisters and bear spray. We recommend stopping at Atmosphere in Surrey, which is conveniently located along the route and has everything you need for outdoor adventures, including freeze-dried food. Alternatively, you can also find essentials at Canadian Tire, which has multiple locations in towns along the way, including Chilliwack.
Since there aren’t many stores or grocery options near the park, we suggest doing your grocery shopping for the entire trip on this first day. Once you’ve stocked up, head straight to your campsite at Chilliwack Lake Provincial Park and set up camp.
This first day is all about getting ready to fully enjoy the beauty of the park. Take some time to relax at the campsite because day two will be much more intense—but the breathtaking views will be worth it!
For this itinerary, renting a car is the best way to get around. If you need to rent a vehicle, we’ve included a dedicated section below with more details.
Day 2 – Hike to Flora Peak
-
- Drive time: 10 minutes from the campsite (round trip)
- Stay: Camping at Chilliwack Lake Provincial Park
- Activity: Hiking
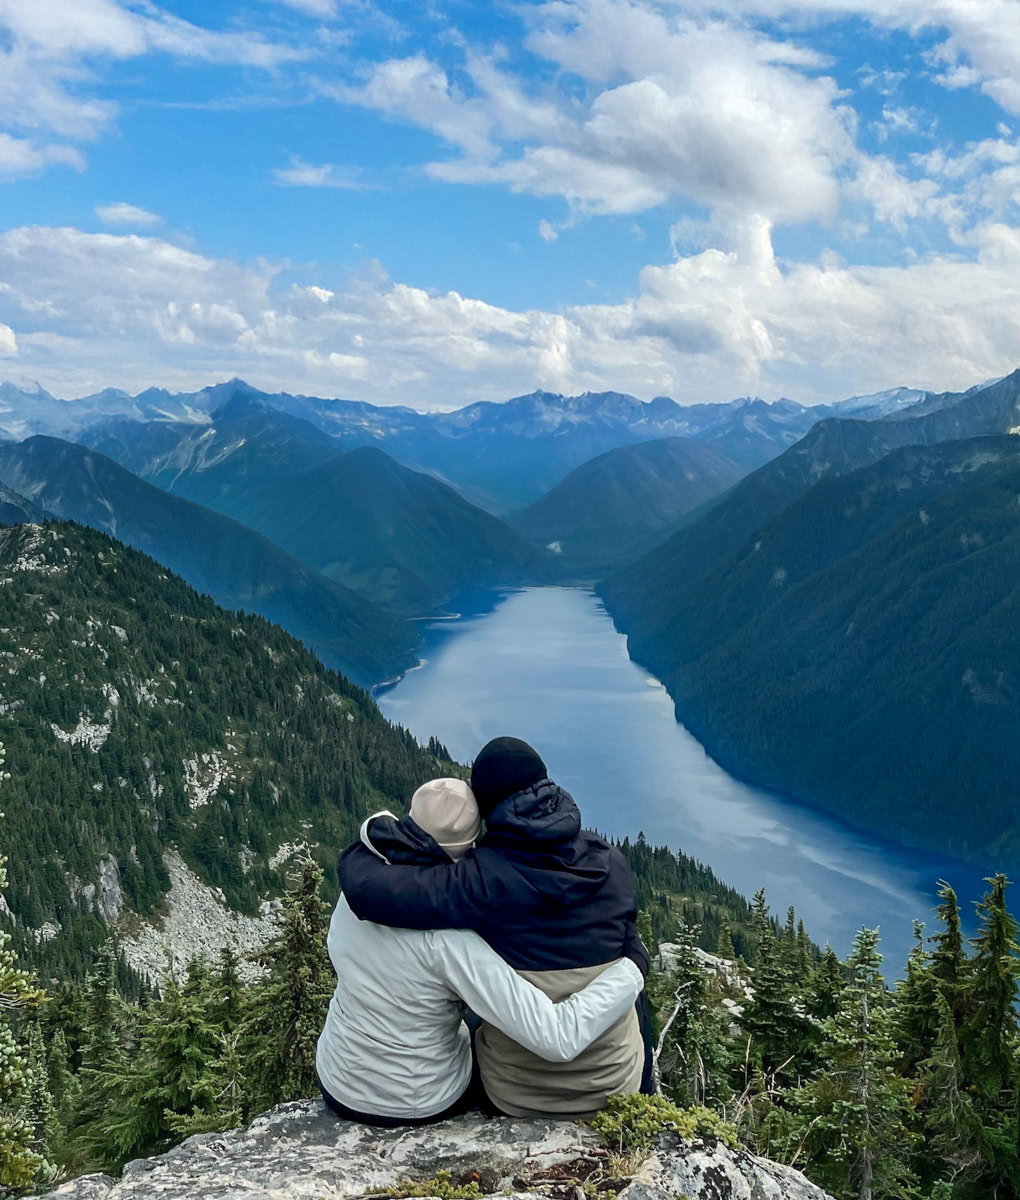
On your second day at Chilliwack Lake Provincial Park, it’s time to head into the mountains! Just a 5-minute drive from the campground, Flora Peak is one of the park’s must-do hikes. Offering breathtaking panoramic views of Chilliwack Lake and the surrounding mountains, you can even spot the snowy peaks of Washington State!
-
- Difficulty: Hard
- Distance: 11.7 km*
- Elevation Gain: 1,295 meters
- Duration: 6 hours*
*Heads up! Usually, AllTrails is our go-to app for navigating hiking trails, but for Chilliwack Lake Provincial Park, the trail information isn’t entirely accurate. AllTrails lists Flora Peak as 11.7 km, but in reality, we ended up hiking 14.6 km, which also extended our hike to 7 hours instead of 6. So, be prepared and start early!
Even though we felt a bit discouraged when we realized the distance was longer than expected, we absolutely loved this hike. Flora Peak gives you a stunning perspective of the park and Chilliwack Lake, with endless Rocky Mountain views that make the climb totally worth it!
Unfortunately, we didn’t get the best weather for this hike, but rain or shine, Flora Peak won’t disappoint!
Day 3 – Hike to Mount Lindeman
-
- Drive time: 1h30 round trip from the campsite
- Stay: Camping at Chilliwack Lake Provincial Park
- Activity: Hiking
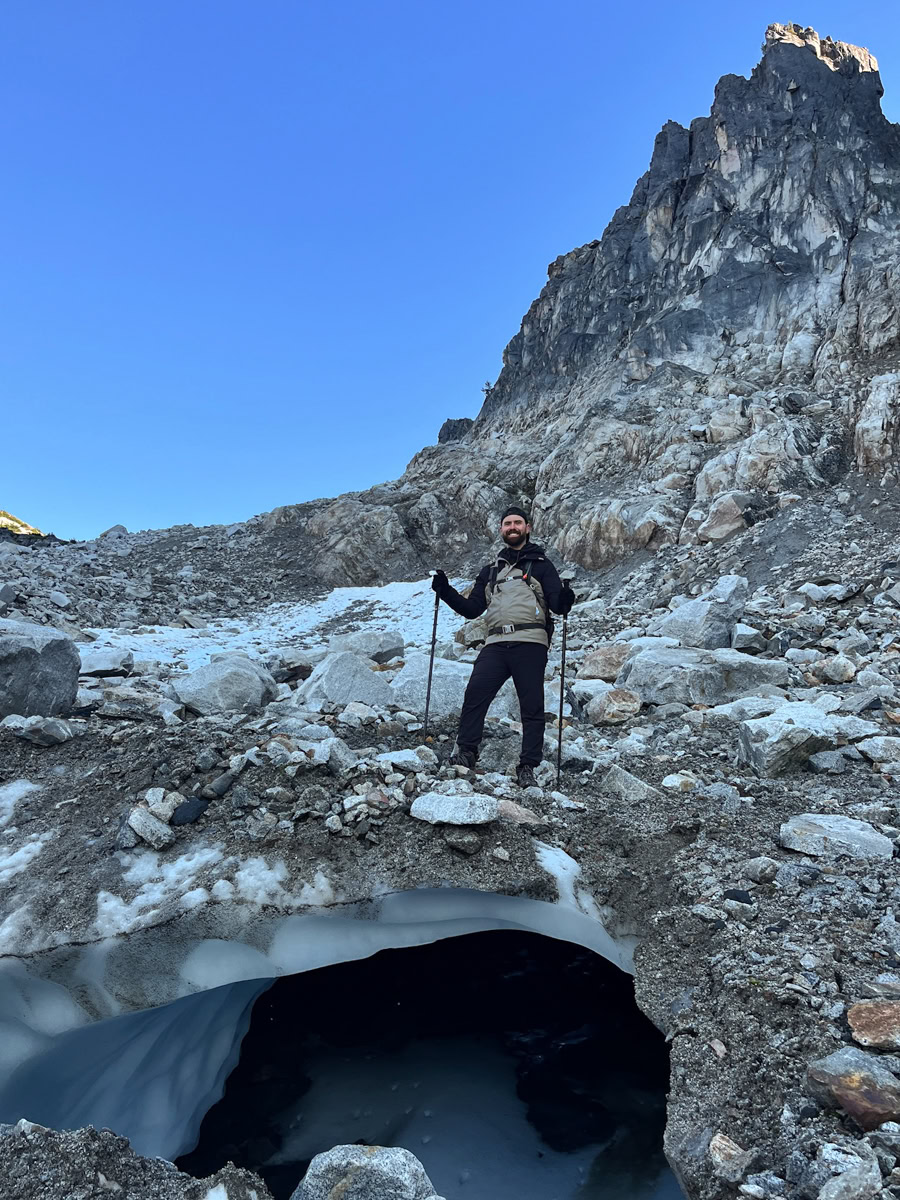
Get ready for an epic adventure! In short, Mount Lindeman is breathtakingly beautiful and one heck of a challenge! No joke—this hike is one of the most stunning we’ve ever done, but the many obstacles along the way make it an experience we’ll never forget! Here’s everything you need to know before taking on this challenge on Day 3:
-
- Difficulty: Hard
- Distance: 16.1 km*
- Elevation Gain: 1,422 meters
- Duration: 10 hours*
*See the AllTrails section below for more details on distance and duration.

Getting to the Trailhead
To find the Mount Lindeman trailhead, use the AllTrails app. You can connect to WiFi at the campground’s reception building to start your GPS before heading out.
Brace yourself for an adventurous drive! You’ll be on a bumpy, pothole-filled road for about 45 minutes—some of the potholes are pretty deep. We highly recommend a 4×4 vehicle for this one. There will be multiple moments where you might question if you’re on the right track—but don’t worry, you are! The road feels completely isolated, but at the end, you’ll reach a roundabout where the trail begins.
Now, let’s talk about the scariest part—some sections of the road have deep dips, which seem to be intentionally dug to drain water during heavy rain. So yes, the adventure starts even before the hike!
Pro tips for the drive:
✔ Set your GPS at the campground before losing cell signal.
✔ Drive slowly and carefully.
✔ Keep going—you’ll get there eventually!
✔ If the dips seem too risky, you can park lower on the road like we did. The final dip looked way too intense for our rental car, so we stopped early, which added about 20 minutes of extra walking round trip.
Trail Overview
The trailhead is near a small creek, and since it had rained before our hike, the trail literally felt like part of the creek! It was super slippery, so be extra cautious.
Otherwise, the trail is marked in some areas, but not so much in others. To avoid unnecessary detours, we highly recommend using AllTrails. At times, you might feel like Christopher Columbus discovering new land because the path is so narrow! Since Mount Lindeman isn’t too popular yet (which makes this a great time to visit), some sections have trees almost blocking the trail, and you’ll need to push through the branches—yep, this hike is a real adventure!
Once you make it out of the forest, you’ll reach a clearing where you can see the mountain peak ahead. You’ll also get a glimpse of what’s coming—rocks, and more rocks!
Just before the final ascent, you’ll come across a section with massive boulders and deep gaps between them—be extra careful, especially if you’re returning after sunset.
Then, it’s time for the final climb—a wide, rocky path mixed with a stream, wildflowers, and patches of snow. The views are breathtaking!
AllTrails
As mentioned earlier, AllTrails is always a great tool to help you stay on track while hiking. However, don’t rely solely on AllTrails for this hike. Although the trail is marked as 16.1 km, we actually ended up covering just under 21 km, and we didn’t even make it to the summit!
While we were on the final ascent, we crossed paths with some hikers heading down. According to AllTrails, we had about 1 km left before reaching the top. Imagine our surprise when they told us they had been descending for 2 hours… we were hoping for some encouragement, but that was a bit of a reality check!
We reached the first viewpoint by around 6 p.m., and decided not to go all the way to the summit. Why? Because we still had most of the return hike to do in the dark. It turned out to be quite the adventure, and we finally got back to the car around 11 p.m…. So, our tip is to plan your start time carefully and make sure you’re well-prepared!
Is Mount Lindeman Worth It?
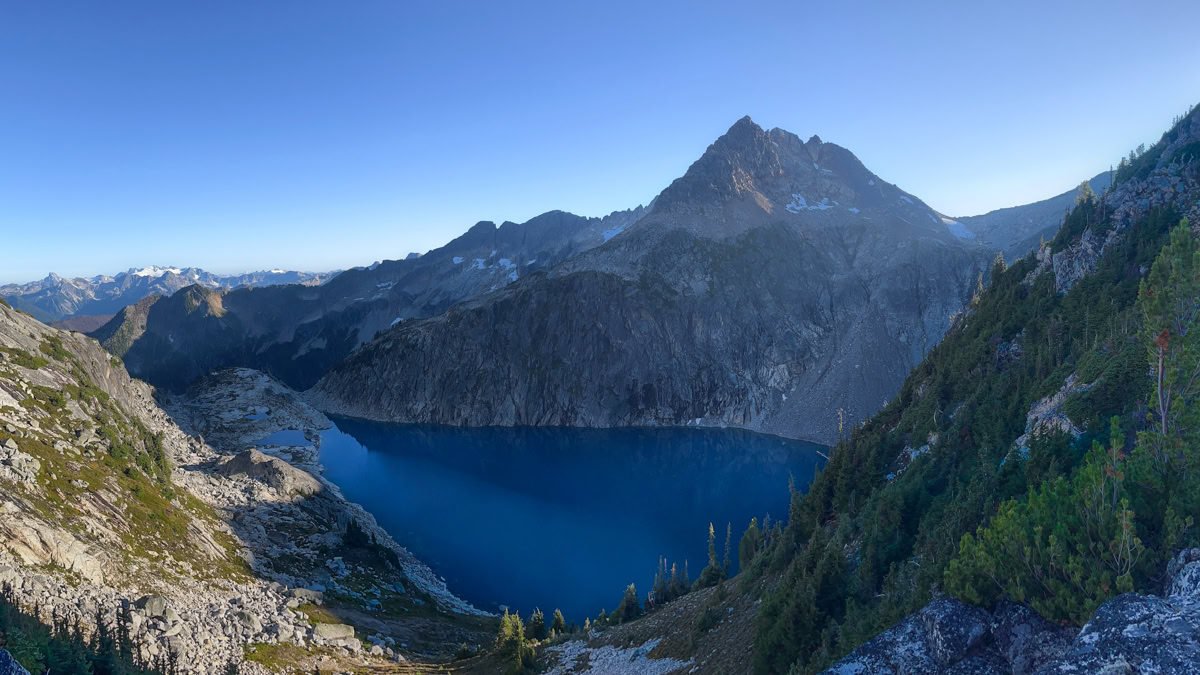
Absolutely! This hike, full of obstacles, makes for a one-of-a-kind adventure that you’ll remember for the rest of your life! And the view? The Upper Hanging Lake in the foreground, with the Rockies stretching endlessly all the way to the North Cascades National Park, will definitely make you forget about the tough climb. Mount Lindeman is definitely a hike to add to your Chilliwack trip!
General Tips:
-
- Start your hike early in the morning.
- Don’t forget your headlamps in case you end up returning in the dark.
- Bring a battery pack to recharge your phone or headlamp.
- A Garmin inReach Mini 2 satellite communicator (or any phone with satellite communication) is essential.
- Make sure you have enough gas for the whole trip!

Day 4 – Chilliwack Lake or Lindeman Lake / Route to Golden Ears / Overnight at Golden Ears Glamping
-
- Travel Time: 2 hours
- Stay: Golden Ears Glamping
- Activities: Hiking/Relaxing/Paddleboarding/Drive
Activity 1 (Option 1): Relaxing/Paddleboarding at Chilliwack Lake
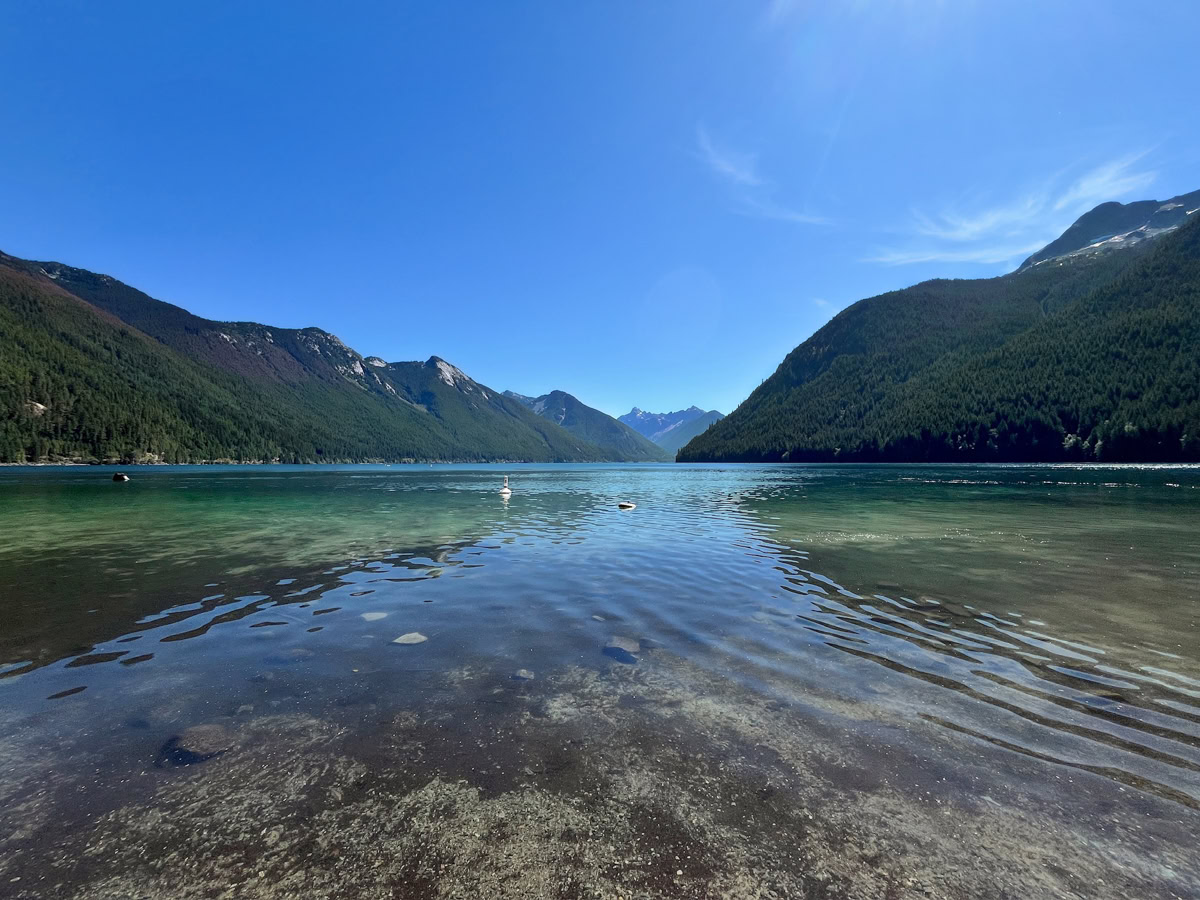
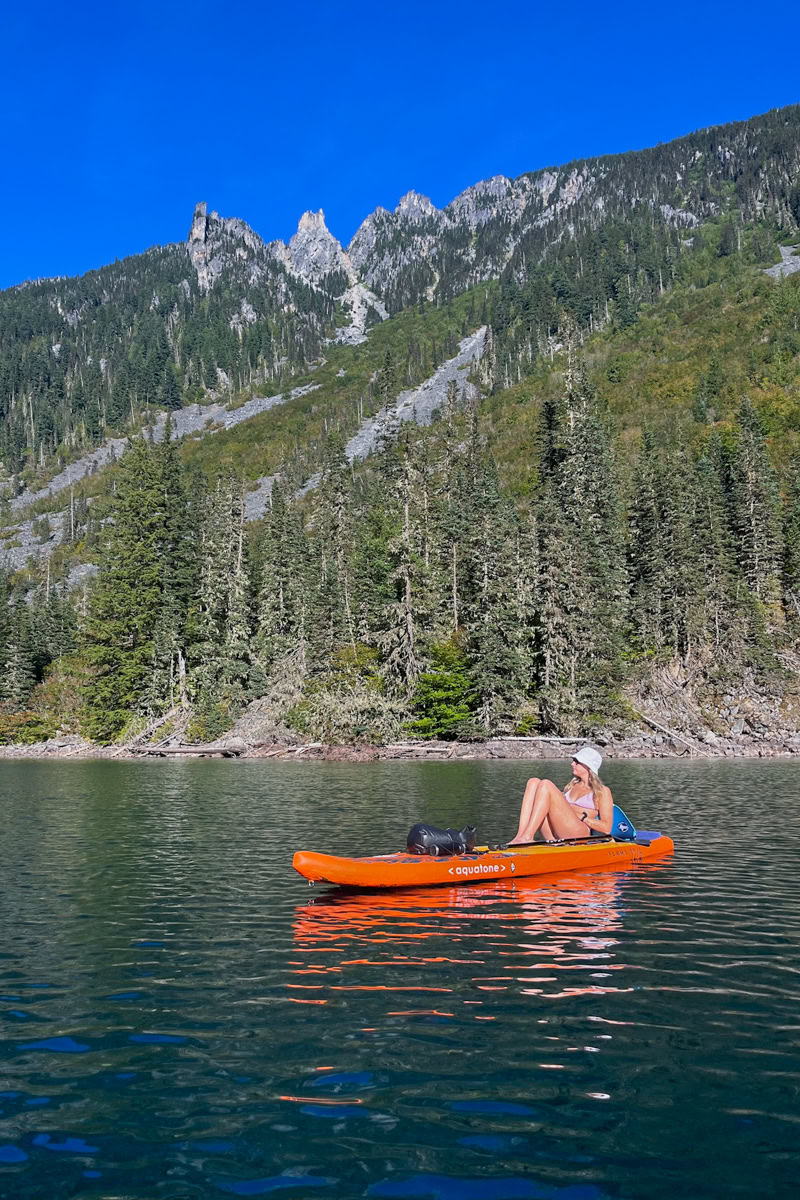
After a day of hiking, what better way to unwind than lounging on a beach with turquoise waters? Chilliwack Lake is truly a gem of the park, with its crystal-clear water and Rocky Mountain backdrop. You can even see Flora Peak from the shore!
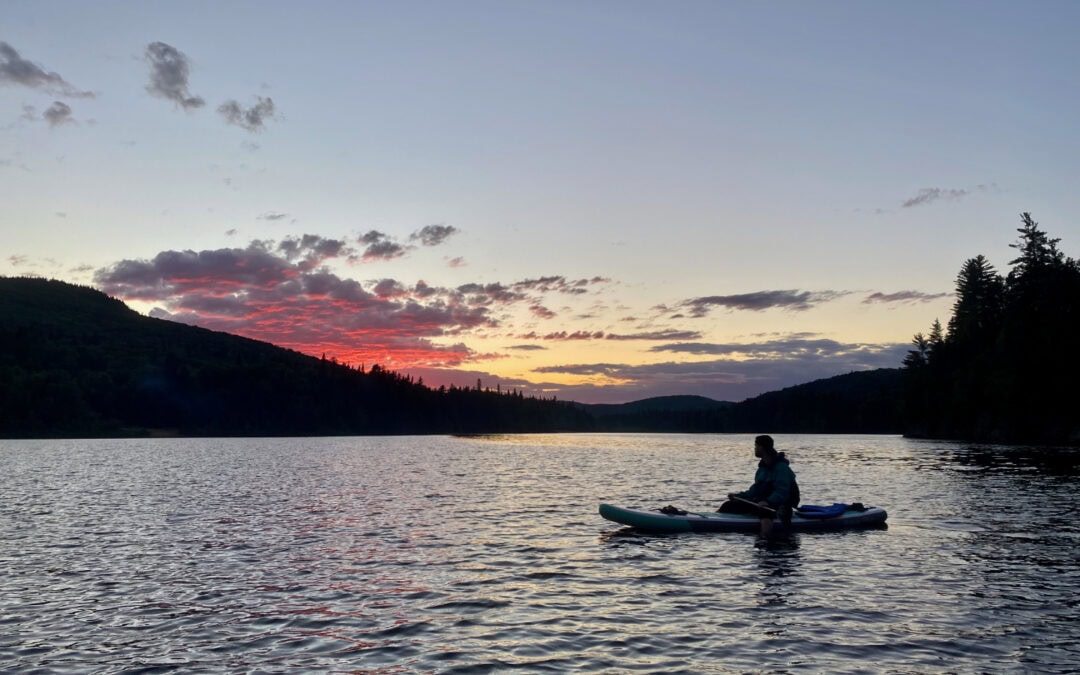
Without a doubt, soaking in the views while resting is the perfect way to recharge after a challenging hike. And if you’re up for more adventure, we recommend taking out a paddleboard to enjoy even more of the stunning scenery.
Keep in mind, though, that apart from a few pit toilets and picnic tables at the parking area, there are no amenities at the beach. So be sure to bring your own chairs to relax comfortably!
Activity 1 (Option 2): Hiking/Paddleboarding at Lindeman Lake
If you’re up for more adventure, Option 2 is perfect for you! After a challenging day, we take it down a notch with a more accessible and easy hike. On this fourth day, we explore Lindeman Lake, reachable via a 3.4 km hike that’s relatively easy. Its moderate difficulty and crystal-clear turquoise waters make it a must-see during your visit to Chilliwack.
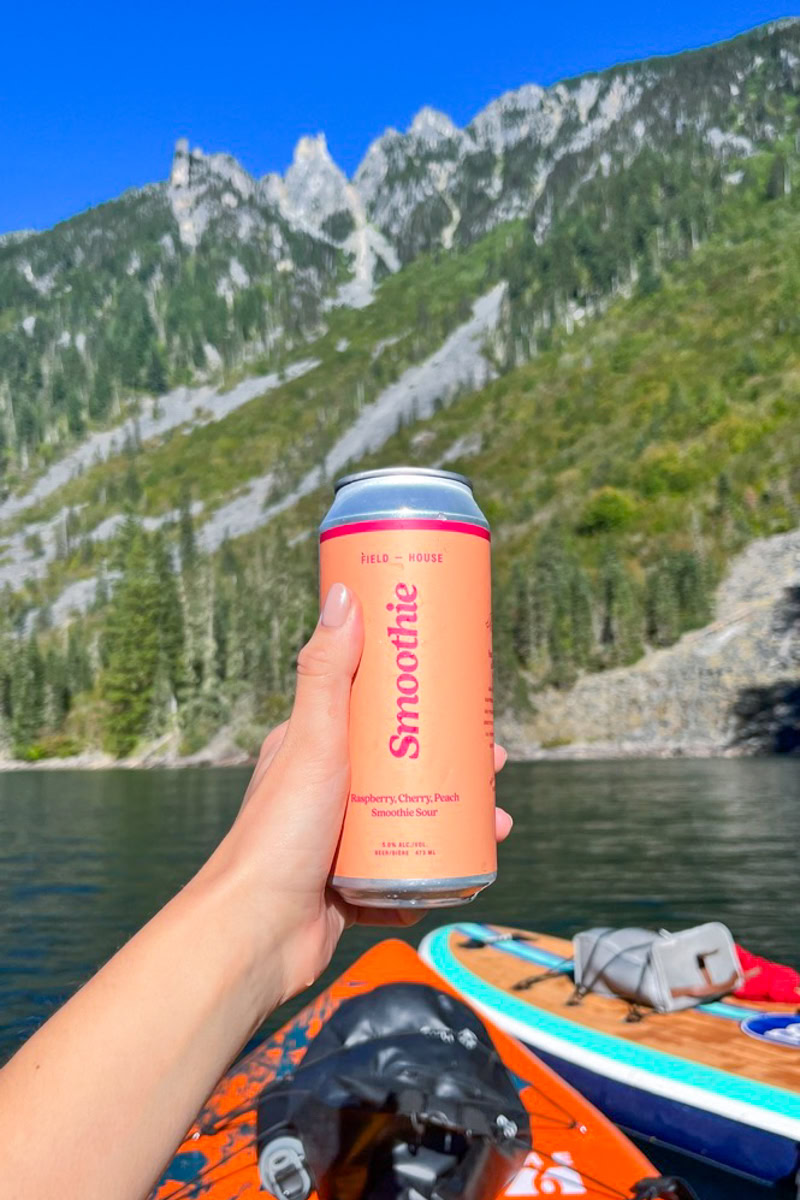
We recommend bringing your paddleboards to relax on the turquoise waters and fully enjoy the stunning view. While the hike is easier than Flora Peak or Mount Lindeman, it still offers a fantastic reward at the top, where you can take in the lake from various angles while escaping the crowds for a bit of peace and quiet. The easy trail means it’s quite popular, so you’ll likely encounter more people than on the other hikes.
We suggest starting early to arrive at Lindeman Lake by noon at the latest, which will allow you to enjoy the turquoise color of the water for longer. If you go later in the day, the surrounding mountains quickly block the sun (around 4 PM), taking away that beautiful turquoise hue.
If you decide to extend your stay at Chilliwack Provincial Park, you can camp at Lindeman Lake camping. This backcountry site right by the lake offers stunning views and a pit toilet for added comfort.
Keep in mind that the wooden tent platforms are relatively close to each other, but staying at Lindeman Lake remains a highly accessible backcountry experience for all, thanks to its easy difficulty level.
Activity 2: Drive to Golden Ears Provincial Park
After a quick stop at Lindeman Lake, it’s time to continue the road trip! Next stop: Golden Ears Provincial Park! With just a 1-hour and 40-minute drive, it’s a perfect afternoon road trip. While you can definitely camp at Golden Ears, if you’re looking for a more intimate and romantic experience, we highly recommend staying at Golden Ears Glamping.
Activity 3: Golden Ears Glamping
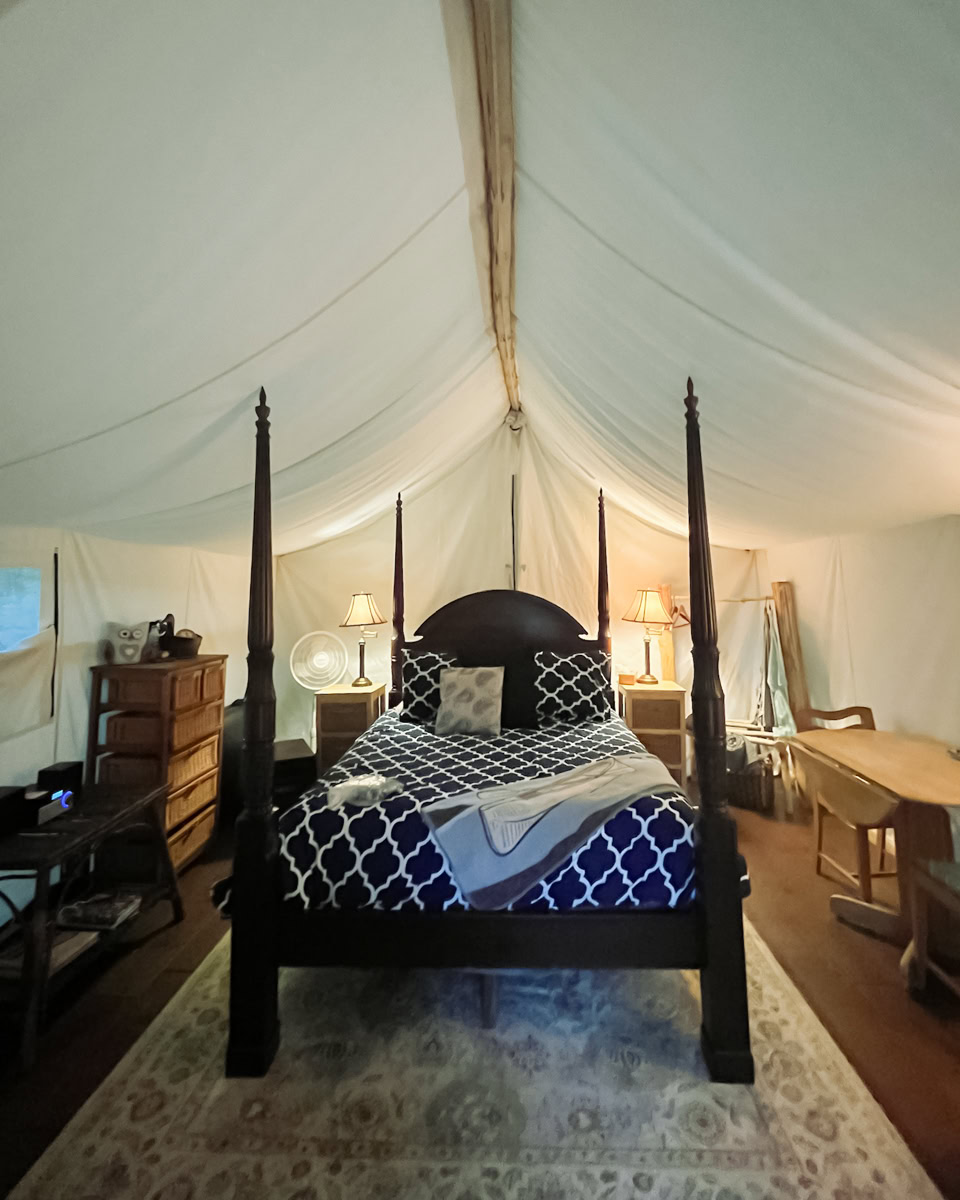
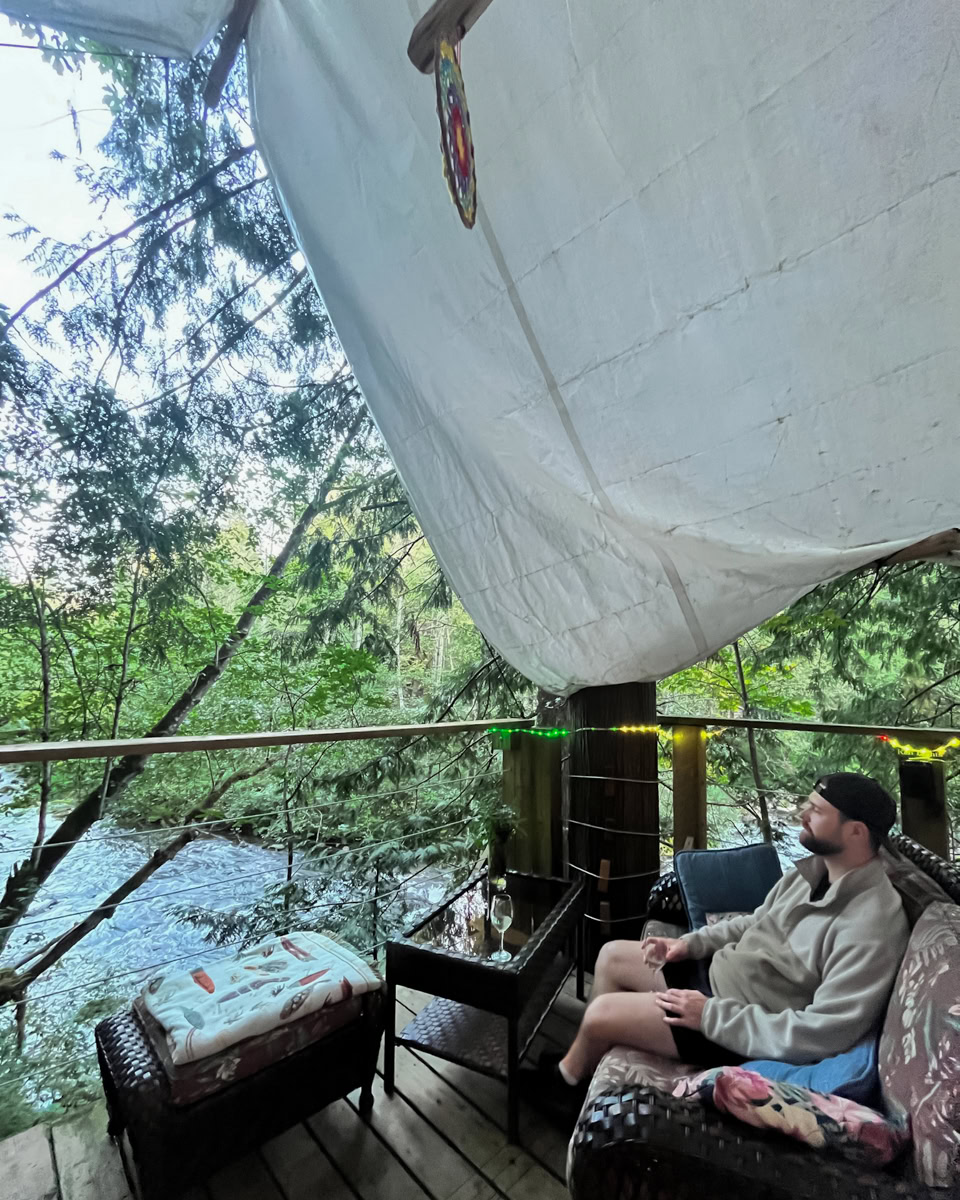
This unique and affordable accommodation will offer you comfort and tranquility before an action-packed day ahead! We truly enjoyed our stay and are confident you’ll love it too. The hosts are incredibly friendly and will make sure you have everything you need for your stay.
Starting at just $160 per night, Rivers Edge offers all the essentials for the perfect romantic getaway. Here are some of the amenities available: an outdoor bath, both indoor and outdoor showers, a full indoor bathroom, a BBQ, a cozy double bed, an equipped kitchenette, river access, river tubes, a private deck, Wi-Fi, and more. Now you see why we say it’s a real bargain at $160 a night.
We highly recommend this glamping experience just next to Golden Ears Glamping. It’s the perfect stop for a good night’s rest before taking on the Golden Ears Mountain hike!
Day 5 – Backcountry Camping at Panorama Ridge Campground, Golden Ears Provincial Park
-
- Travel Time: 15 minutes (from Golden Ears Glamping)
- Stay: Panorama Ridge Campground
- Activities: Hike – Golden Ears Summit
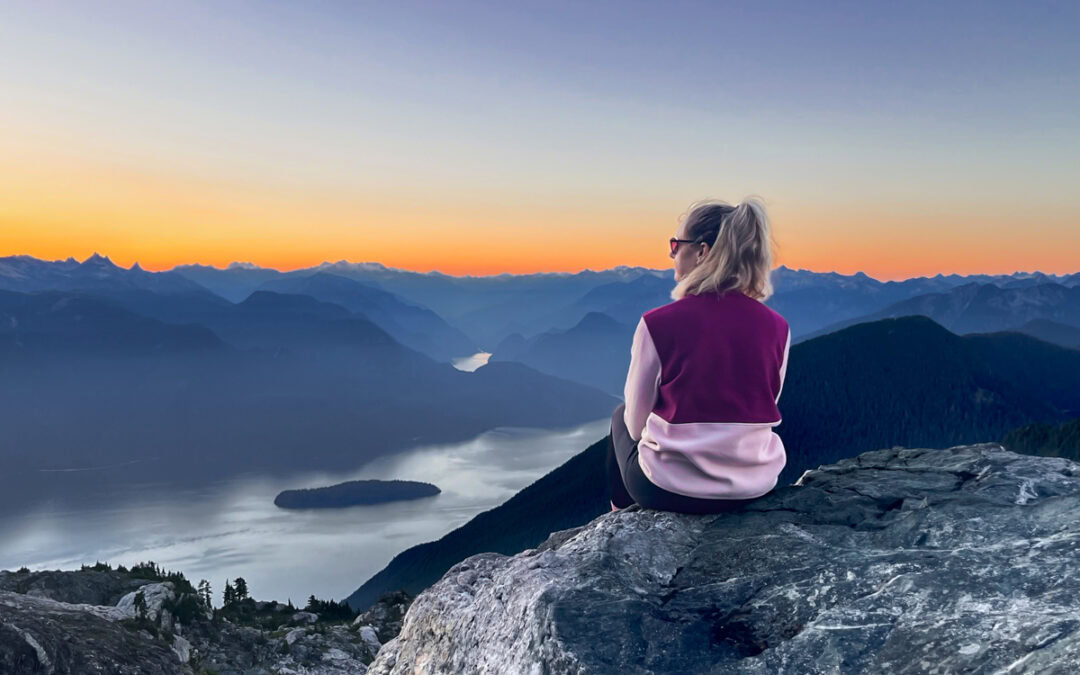
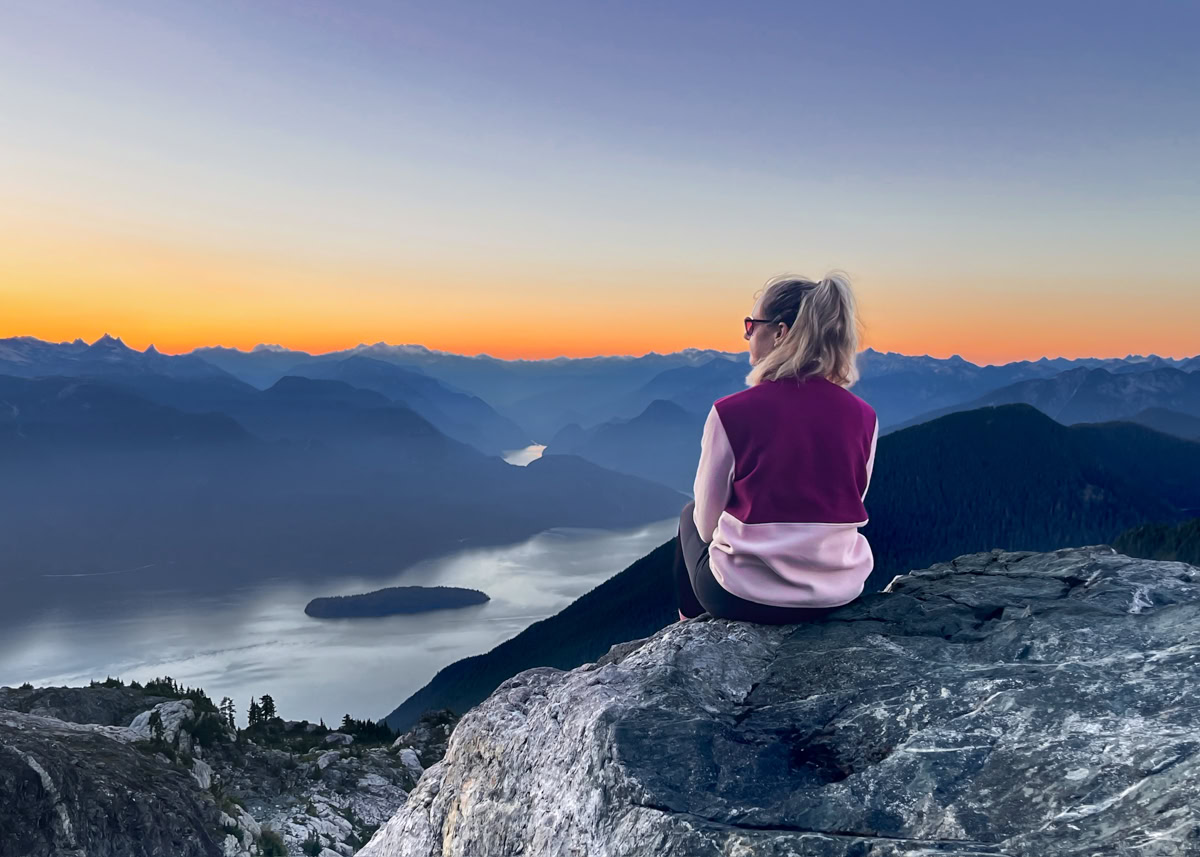
The big day has arrived! Get ready for an adventure full of challenges, accomplishments, and breathtaking views. Panorama Ridge Campground at Golden Ears Provincial Park is a must-do trek during a Vancouver trip. This 22.5 km hike is typically done over 2 days, but you can tailor it to your preferences.
This experience is definitely one of our highlights of the trip. Although the trail comes with its share of challenges and obstacles, the views at the campground are simply jaw-dropping. For all the essential info to make your hike unforgettable, check out our complete guide on Panorama Ridge Campground.
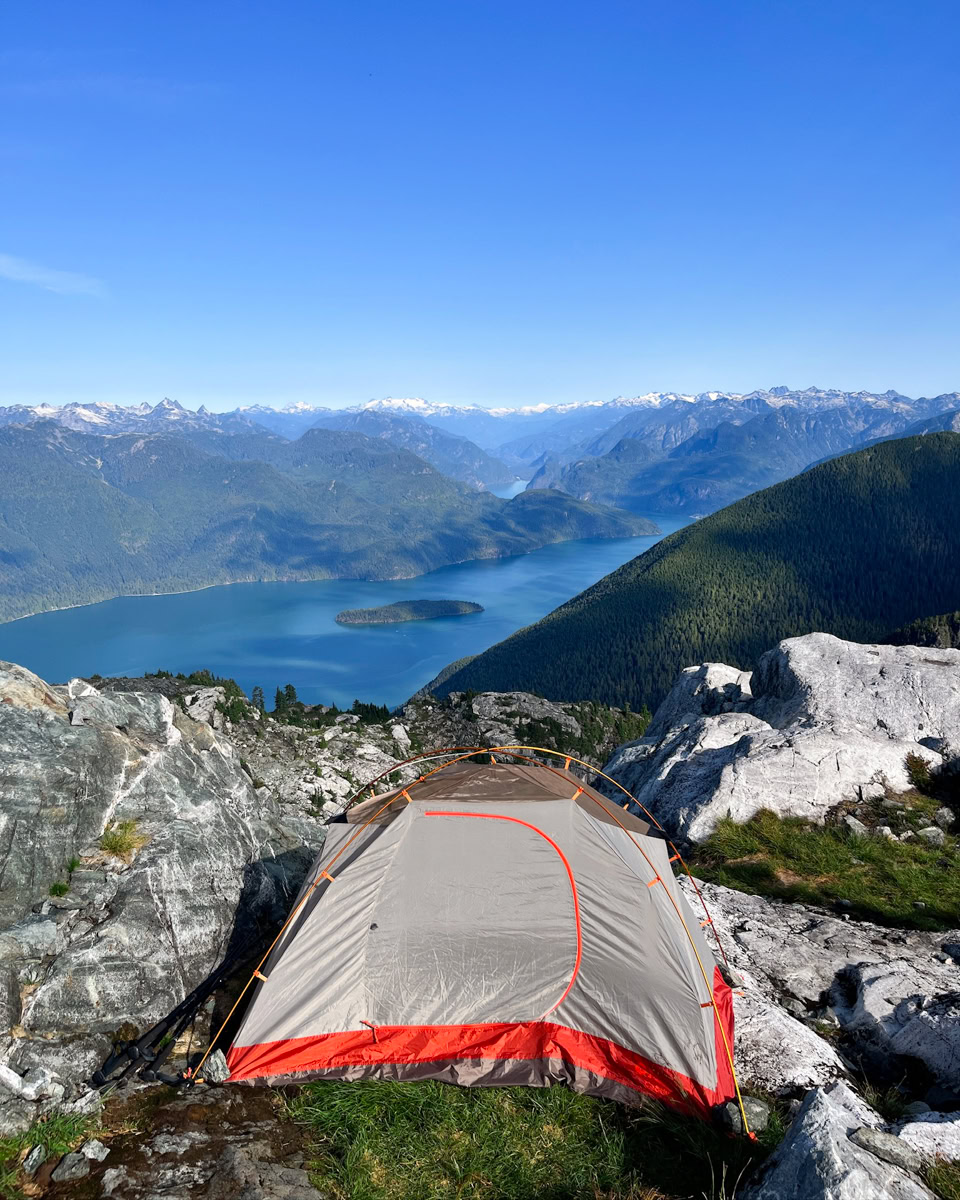
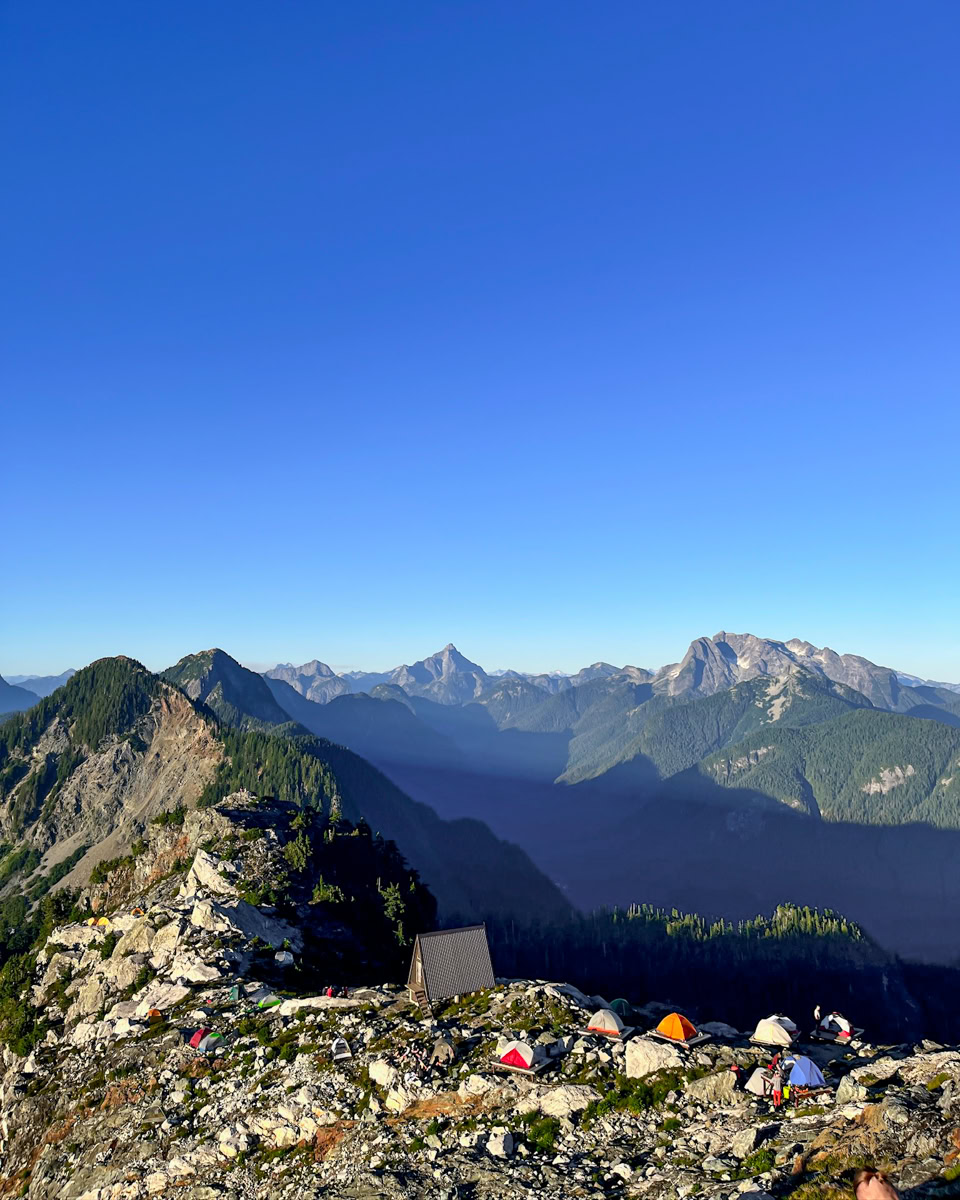
→ Click here for a full guide on the Panorama Ridge campground hike at Golden Ears.
Day 6 – Return from Panorama Ridge Campground, Golden Ears/Drive to Vancouver
-
- Travel Time: 1 hour (from Golden Ears Provincial Park)
- Stay: Airbnb
- Activities: Hike – Descent from Golden Ears Summit
Activity 1: Return from Panorama Ridge Campground Hike
After your unforgettable stay at Panorama Ridge Campground, it’s time to rise early, enjoy a hearty breakfast, and take in the panoramic views one last time before preparing for the descent. Make sure to start your return journey early if you don’t want to finish too late. We began our descent around 10:15 AM and reached the car by 3:30 PM.
For all the essential information on hiking Panorama Ridge Campground, check out our complete guide here:
→ Click here for a full guide on the Panorama Ridge campground hike at Golden Ears.
Activity 2: Return to Vancouver
The end of the trip is already here, and it’s time to head back to Vancouver. After returning from your hike, we recommend staying in accommodation near Vancouver Airport. We booked an Airbnb just 15 minutes from the airport, and it was the perfect stop to prepare for our flight the next day.
You’ll have about an hour’s drive after your hike. We also suggest booking a fully equipped place with a complete bathroom for a well-deserved shower, a kitchen to clean your dishes, and enough space to pack your suitcases. Take this time to relax in a cozy bed before your return flight!
Day 7 – Return Flight/End of the Trip
It’s already the end! The seven days have flown by, and it’s time to head back home. If you booked an Airbnb just 15 minutes from the airport, you’ll have a short drive on the morning of your flight. And if you’ve rented a car (see the section below), take this moment to fill up the gas tank before returning the car at the airport.
Where to Stay in Chilliwack?
To make the most of all the activities the park has to offer, we recommend staying at Chilliwack Lake Provincial Park. This will put you right next to all the outdoor adventures, minimizing time spent driving.
Camping in the park is perfect for experiencing nature at its finest, with options to camp by the lake, hike the trails, and enjoy breathtaking views.
For the perfect camping stay at Chilliwack Lake Provincial Park, check out our full article for all the details on the best spots and practical tips.
Car Rental with Turo
Flying into the beautiful Chilliwack area? Rent your car through Turo for a hassle-free, perfect stay! If you’re not familiar with Turo, it’s like the Airbnb of cars. Private individuals rent out their personal vehicles, and everything is handled through the Turo app. You can also see ratings left on hosts to help guide your decision.
Plus, if you’re an outdoor enthusiast, this is definitely the best option for you! It was our first time using Turo for this trip, and it really made our lives easier! Here are some positive points and tips for renting a car with Turo:
Outdoor Extras Available for Rent
Many car rental hosts offer essential outdoor extras. For an additional fee, we were able to rent paddle boards, a BBQ, camping chairs, and a cooler for the duration of our whole trip! While these extras do come with added costs, they make air travel a lot simpler. To give you an idea, here’s what was our extras cost:
- Paddle boards: $30/day per board
- Cooler: $5 for the entire trip
- Camping chairs: $10/chair
- BBQ: $10/day
Check Your Extras Upon Arrival
Even though these extras made our trip easier, we realized during the journey that one paddle board was missing a fin… Not very practical for an adventure! Luckily, our host was understanding and offered us a discount, but next time we’ll make sure to check all equipment upon arrival. Doing this will help you avoid little hiccups along the way.
No Extra Fees for Adding a Second Driver
What a bonus! Most rental companies charge additional fees to add a second driver, but not with Turo! This is a big plus, especially since sharing the driving makes the journey much more enjoyable. You can even add up to 8 drivers! However, note that the person who made the reservation must be present when picking up the vehicle.
Easy and Simple Set Up to Add a Driver
Another great feature of Turo is how easy and quick it is to add an additional driver. Of course, make sure the person you want to add meets the eligibility criteria. Then, they’ll need to create a Turo account to become a verified driver. This requires providing their driver’s license number, home address, payment method, and a profile picture. Turo will then handle the verification process, and you’re all set! The whole process is quick, and you’ll be ready to hit the road!
Choosing Your Pickup Location
To make things as convenient as possible, many hosts offer the option to select your preferred pickup location. For example, we requested that our car be parked at Vancouver Airport upon arrival. While this does come with additional fees, it significantly simplifies travel logistics.
Check Your Insurance Coverage
If you’re traveling within your own country, we recommend checking your car insurance before booking. Turo offers multiple insurance options, but you might already be covered! Many credit cards also include rental insurance, though not all policies apply to Turo. To avoid unnecessary fees, double-check your existing coverage before making a decision.
You’re now ready to rent your car with Turo! Of course, we recommend doing your own research to ensure you have everything you need for your rental. However, you now have a good overview of all the perks you can enjoy when using Turo.
We had a great experience and will definitely book with Turo again in the future. In our opinion, it’s an essential service for combining car rental with outdoor gear. This will allow you to fully enjoy an unforgettable camping trip!
What to Pack for a Trip to Chilliwack
Wondering what to bring for your adventure to Chilliwack Provincial Park? Nestled in the Rocky Mountains, it’s essential to be well-prepared for an unforgettable experience! Here are the must-have items for your trip:
-
- Bear spray
- Car adapter
- First aid kit
- Bear-proof container
- Biodegradable soap
- Hiking poles
- Water filter
- Garmin satellite communicator
→ For a complete camping packing list, enter your email below, and you’ll instantly receive our ultimate gear checklist for a perfect camping experience!
Our Best Tips
Book Your Campsites in Advance
To have the best selection possible, we recommend booking your campsites as early as possible. While Chilliwack is less popular than Banff, the sooner you book, the better. You can reserve your campsites on the official BC Parks website.
For backcountry stays, make sure to note the date when reservations open. Many parks allow bookings only two weeks in advance, so planning ahead is key!
Start Your Hikes Early
Don’t make the same mistake we did—plan ahead! Even though we aimed to start our hikes at a certain time, we almost always ended up leaving later than expected. Given the long distances and challenging terrain, we recommend starting early in the morning, around 7 AM. This way, you’ll have plenty of daylight and won’t return to your campsite too late.
Fuel Up at the Start of Your Trip
As mentioned earlier, services are very limited in Chilliwack Lake Provincial Park. Be sure to stock up on groceries and fill up your gas tank before reaching Chilliwack to avoid any inconvenience during your trip.
Check the Weather Conditions
Oh, Canada! The weather here can be unpredictable, so it’s important to pack accordingly. Mountain regions often create microclimates, so bring a windproof and waterproof jacket, as well as warm layers, since nights can get chilly.
Bear Spray
It goes without saying—British Columbia means bear country. Since you’re in their territory, it’s essential to always carry bear spray with you. While bear encounters are rare, it’s better to be prepared to avoid any dangerous situations. Knowing how to use bear spray properly is crucial, and don’t forget—it should always be easily accessible. Taking these precautions not only protects you but also helps preserve the bears’ natural behavior.
Rent Your Car with Turo for a Hassle-Free Trip
As we’ve mentioned before, Turo made our trip planning so much easier. It eliminates the stress of packing and transporting all your outdoor gear. We loved our experience with Turo and highly recommend it for a smooth and enjoyable adventure!
Conclusion
Chilliwack is definitely an underrated gem for hiking and a destination that deserves more recognition. With its turquoise lakes and breathtaking Rocky Mountain scenery, it’s a top choice for any trip to Vancouver.
Located just two hours from the city, Chilliwack offers incredible landscapes that are easily accessible for those wanting to explore British Columbia without venturing too far.
Of course, this itinerary is packed with adventure! If you have extra time, we highly recommend extending your stay to fully enjoy everything this region has to offer. We hope this guide helps you plan your next unforgettable adventure!
You may also like
Discover the 5 Best Hikes in Mont-Tremblant
Welcome to Mont-Tremblant, where adventure awaits you at every turn! About 1 ½ hour from Montreal in the heart of the Laurentian Mountains, Mont-Tremblant has made its reputation by its towering mountains and stunning landscape scenery. Offering a vast network of...
Top 5 Winter Hikes near Montreal – Enjoy the Snowy Adventure
Get set for an exciting winter adventure as we share our top five winter hikes near Montreal! Even though the city might be snow-covered, you don't have to stay cooped up indoors. Each trail has its own snowy charm and stunning views, promising to spark your sense of...
Top Campings in Québec for Hiking – Your Adventure Guide
Looking for your next adventure in Quebec and wondering where to stay? Don’t worry, we got you covered! Quebec has many provincial and national parks that offer a large variety of hiking trails and amazing viewpoints. Whether you're seeking panoramic views, hidden...
